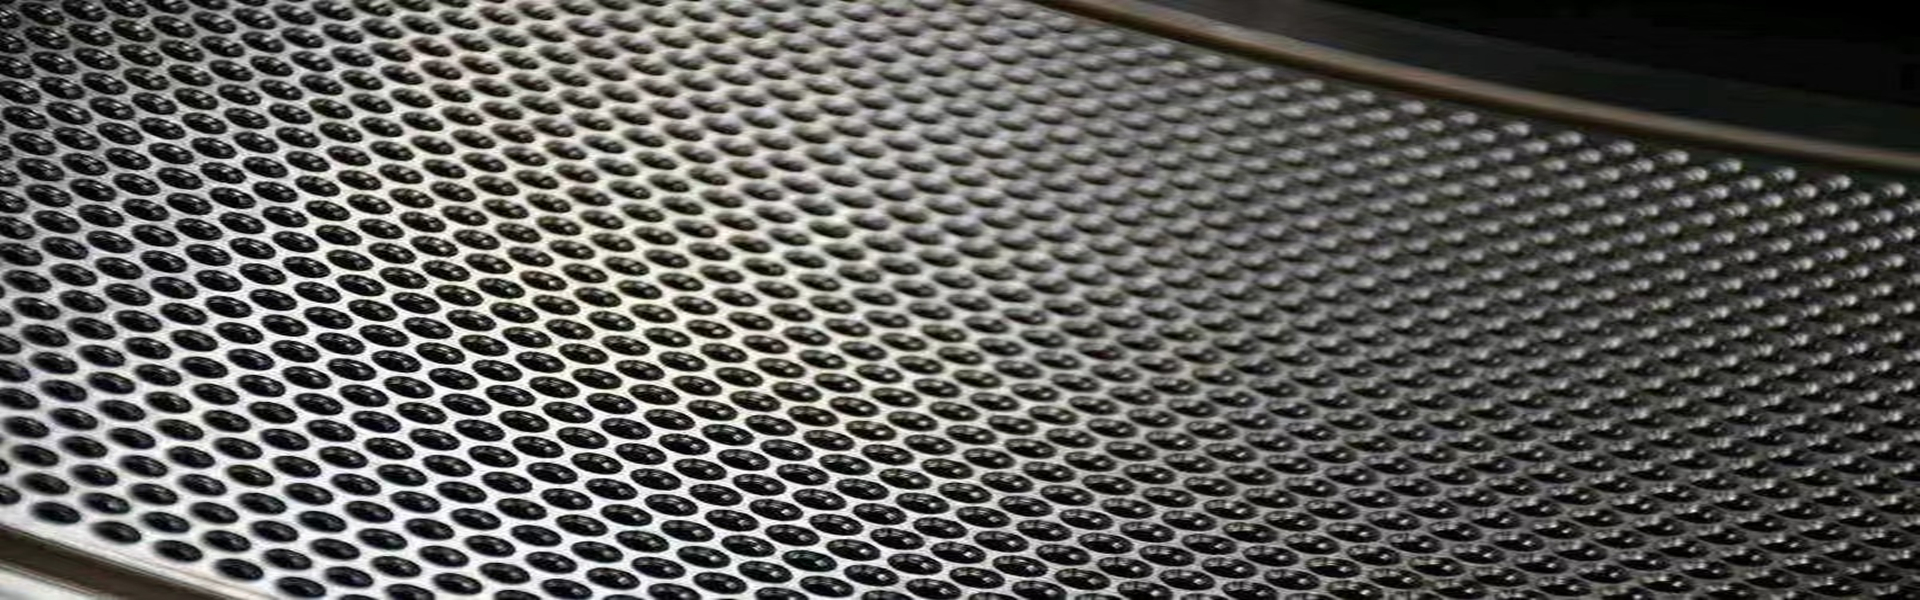
Pellets are formed at the nip point between the ring die and the rollerer. Within this work area, feed is compressed and extruded through the pellet ring die— the heart of the pelleting operation.
Properly maintaining the ring die is essential to achieve maximum production rates and to prolong ring die life during the pellet-forming process.
The best way to maximize ring die performance is to follow established maintenance procedures that begin at ring die start-up and continue throughout the life of the ring die. A successful maintenance program consists of:
• Regular inspection and preventive maintenance practices that find minor problems and address them before they become major issues. Clearly, the most cost-effective manner to maintain pellet ring die, as well as other equipment, is to inspect and repair equipment on an on-going basis, rather than waiting for a catastrophic failure. An effective preventive maintenance program saves both time and money.
• Personnel should have defined responsibilities for maintaining the pellet die and pellet mill. Limiting the number of personnel assigned to maintain the ring die helps increase accountability and ownership associated with these important duties. Providing personnel assigned to perform maintenance activities with adequate training and clear responsibility for those functions helps improve the overall maintenance program.
Installing a new ring die
Installing a new ring die provides a great opportunity to inspect the ring die housing (or quill), pellet ring die and associated wear components. The following is a list of possible checkpoints for maintenance personnel to look at during this process:\
• Inspect the ring die housing groove where the ring die mates to the housing. Look for shiny spots, wear and feed build-up. If found, these conditions may be indicators that the ring die did not properly fit into the ring die housing, or that the ring die was not securely fastened. The vast majority of ring die breakage occurs because of improper ring die fit or loose ring dies.
• Inspect the wear ring insert in the ring die housing. Gauge the inside diameter of the ring to ensure the proper dimension, especially if the wear ring appears worn. Worn wear rings are a leading cause of improper ring die fit. Replace worn wear rings to avoid breaking ring dies.
• Inspect the ring die housing key and the keyway of the old ring die for wear. A key or keyway that is battered or worn is another indicator that the old ring die was not securely fastened to the ring die housing or did not properly fit. Replace any key that shows wear and evaluate why the wear occurred. Apply anti- seize compound to the key before installing to facilitate removing the key later.
• If the ring die attaches to the ring die housing with clamps, carefully inspect the ring die clamps and clamp bolts. Use an appropriate ring die clamp wear gauge to measure clamp wear during each ring die change. Also, look for shiny spots on the ring die and the ring die housing where the ring die clamps attach. Such spots can indicate ring die movement from an improper fit or loose clamps. Replace worn clamps immediately. Use of worn clamps may result in ring die breakage and can ultimately cause severe wear that requires resurfacing of the ring die housing.
• Periodically measure the outside diameter of the new ring die’s pilot diameter—the portion of the ring die that fits into the ring die housing groove—to ensure the correct dimension. This is especially relevant when purchasing a ring die from a new supplier. If the ring die pilot diameter falls outside of the pellet mill manufacturer’s tolerances, work with the ring die supplier to resolve the issue. Using a ring die that has too small of a pilot diameter can lead to ring die movement and breakage during use.
• Apply anti-seize compound to the surfaces where the ring die mates with the ring die housing and to clamping surfaces if clamps are used. Use of anti- seize compound will help when removing the ring die and clamps during the next ring die change.
• Treat the ring die and ring die housing with care while removing or installing ring dies. Never strike the ring die or ring die housing with a bare steel hammer or drop the ring die on a hard surface. The materials used to make ring dies are very durable for their designed application; however, structural shocks that are severe enough can lead to metal fatigue or weakness and major ring die failure. If force is necessary to remove or install a ring die, use a plastic or wooden hammer to soften the blows.
• Closely follow the pellet mill manufacturer’s recommendations on bolt grades and torsion specifications. Most pellet mill manufacturers recommend replacing critical bolts, such as ring die clamp bolts or hold-on bolts, when installing a new ring die. Correctly tighten all bolts associated with securing the ring die to the ring die housing with a torque wrench. Problems can occur from both under-tightening or over-tightening bolts. Always
tighten bolts to the pellet mill manufacturer’s recommended torque value.
• Install new roller with a new ring die, or carefully inspect used rollers to ensure they are worn evenly and match well with the face of the new ring die. Used rollers with uneven surfaces can quickly damage the new ring die.
Starting a new ring die
Although the holes in pellet ring dies are precisely machined and polished by the manufacturer, it remains important to start up a new ring die at a lower than normal production rate. Establish procedures to operate the pellet mill at a reduced setting for a given amount of time to allow the holes of a new ring die to become polished. This amount of time may differ between different ring dies and feed types.
If possible, when starting a new ring die choose a ration that develops low ring die friction as the first production run to aid the start-up process. Rations that contain a high percentage of corn or a high fat content are examples of low ring die friction feeds.
As an alternative to feed, manually running a mixture of corn, silica sand and approved oil through a new ring die for several minutes can effectively polish the holes and facilitate a smooth ring die start-up.
Feed distribution
Correct feed distribution over the face of the ring die is an important factor in achieving maximum pelleting rates and ring die life. Ideally, the feed plows or deflectors and wipers in the pellet die chamber should direct an equal amount and an even mat of feed to each roller. Improper feed distribution causes uneven wear of the ring die face.
It also reduces pelleting capacity since feed is not equally distributed to the entire working area of the ring die.
To check feed distribution, thoroughly clean the face of the ring die and closely observe the wear of the individual holes.
Look for areas of the ring die that show greater wear than others. The depth of surface wear is the perpendicular distance of the ring die face from the horizontal plane where the original ring die face started. Measure the ring die face wear by inserting a micrometer or small rod from the outside diameter of the ring die until it appears on the inside ring die face. Mark the rod or check the measurement of the micrometer to determine the remaining ring die thickness. Subtract this measurement from the original ring die thickness to determine the depth of wear. To ensure consistency when using this method, take measurements from the same row of holes in several areas of the ring die during each inspection. If high wear areas are found, that means these areas are receiving more feed and doing more work than the remainder of the ring die.
Checking for uniform feed distribution is especially important when starting a new ring die. If pelleting is a significant part of the feed mill operation, check the face of a new ring die daily to ensure even wear. It is essential to establish a good wear pattern in a new ring die in order to maximize production and ring die life.
Various types of feeds may distribute differently within the pelleting chamber. Since it is not practical to change feed deflector positions for each type of feed, the overall goal is to adjust the feed deflectors to an average position for good feed distribution over the life of the ring die. Adjust the feed deflectors accordingly to distribute feed away from high wear areas. Regularly inspect feed plows and wipers and replace worn parts.
Tramp metal
Tramp metal reduces ring die life and pelleting rates. This is because tramp metal reduces the working area of the ring die and causes uneven ring die wear. Feed does not flow through a ring die hole filled with tramp metal. In extreme situations, the uneven ring die wear caused by tramp metal may make it impossible to properly adjust the rollers.
Inspect the pellet ring die at least weekly for tramp metal. Use an appropriate pin punch to remove any metal found by starting from the outside of the ring die and punching the metal back out into the ring die chamber.
Magnets, scalpers and other cleaning devices play an important role in extending ring die life.
Clean and maintain this equipment on a regular basis to ensure it is properly and effectively working. Clean magnets positioned at the discharge of conditioners or within feed chutes at the end of each shift.
Ring die flushing and storage
Flush the ring die with an oily mixture at the end of each production day or if the ring die is taken out of service. Flushing will protect the ring die by preventing corrosion caused by moisture or corrosive feed ingrering dients. It also allows the ring die to easily start when put back into production.
If the ring die is placed in extended storage, in addition to flushing, store the ring die in a dry, protected area. Using a proper storage area will minimize the potential corrosion that can reduce ring die life.
Other ring die conditions
Honeycombing: Moderate honeycombing of the ring die—the condition where the diameter of the ring die holes enlarges and the ligament thickness of the metal between the holes thins through wear—is a normal condition and generally indicates good ring die performance. However, severe honeycombing can cause ring die breakage due to the structural weakening of the ring die. If severe honeycombing is experienced, decreasing the open area of the ring die by changing ring die specifications or changing ring die material may help reduce the problem.
Corrosion: ring die corrosion is caused by the combination of heat, moisture and feed in the ring die. Corrosion may cause pitting and rough surface areas within the holes of the ring die. Pitting slows down production rates and can cause frequent plug- ups because of increased friction while the feed moves through the ring die hole. To check for pitting, thoroughly remove all feed from the ring die hole and shine a light from the inside diameter of the ring die so that the internal surface of the hole can be seen. Look down the hole from the outside of the ring die to evaluate the condition of the surface.
Mild pitting looks like pin pricks on the sides of the hole wall. Severe pitting appears as large abrasions. To avoid pitting problems, properly flush and store ring dies. Also, work with pellet ring die manufacturers to select the proper ring die material for the types of products being pelleted.
Scoring: Scoring of the ring die holes can occur when pelleting abrasive materials. Scoring appears as longitudinal lines down the hole wall.
Often, scoring will occur due to earlier pitting of the ring die hole surface.
To inspect for scoring, follow the same procedure used to evaluate ring die holes for pitting.
If scoring is a problem, take steps to minimize ring die corrosion and work with pellet ring die manufacturers to select appropriate ring die materials.
Rollerover: ring die rollerover is a condition that occurs when the inlet area of the holes in the ring die face begin to be peened shut.
rollerover is caused when the force exerted on the face of the ring die is greater than the strength of the ring die material. Typically, rollerover results from improperly setting ring die rollers, but it also may occur when pelleting certain types of feed. Regardless of the cause, rollerover can greatly reduce the pelleting capacity of the ring die and adversely affect pellet quality.
Proper roller adjustment is critical to avoid ring die rollerover and to achieve maximum pelleting production rates. Adjusting the rollers too loosely reduces capacity and causes plugs. Adjusting the rollers too tightly causes excessive roller wear and rollered-over ring dies. Because pelleting causes the ring die face to wear away, regularly inspect and adjust the rollers to ensure they are in the proper position.
The required inspection frequency depends on the pelleting operation.
Follow these procedures to correctly adjust the ring die rollers:
• Never adjust rollers while the ring die is turning. Follow established lock-out, tag-out procedures to de- energize all energy sources to the pellet mill before making any adjustments or repairs.
• Wear appropriate personal protective equipment, such as gloves and eye protection.
• Thoroughly clean off the ring die face and rollers.
• Loosen the locking screw away from the roller- adjusting gear.
• Adjust the tightening screw on the roller-adjusting gear so that the rollers barely touch the ring die face. Spinning the rollers by hand provides a good
indication of roller clearance.
• If the end of the adjusting gear adjustment is reached, completely back off the tightening screw, remove the adjusting gear and re-install the gear as close as possible to the tightening screw.
• After adjusting the rollers, lock the adjusting gear in place by tightening the locking screw against the gear.
• To check the roller adjustment, re-energize and start the pellet mill, bring the ring die up to full speed and then turn the mill off. Properly adjusted rollers will spin when the ring die is rotating at full speed, but will quit turning as the ring die coasts to a stop.
Tighten rollers that fail to spin when the ring die is at full speed. Loosen rollers that continue to spin until the ring die completely stops.
Ring die maintenance records
Keep accurate and complete records on all ring die specifications and tonnage to help evaluate ring die performance. In addition, recording hours that a ring die runs provides a means to evaluate the overall production rate of the ring die. Maintain all ring die records for a period of time long enough to establish historic trends.
Ring die change operations: Removing worn ring dies
The cost of a ring die is a major operating expense associated with the pelleting process. Although running more feed tonnes through a ring die that still runs results in lower costs per tonne, other conditions may make it cost-effective to install a new ring die. In other situations, such as catastrophic ring die failure, it becomes immediately necessary to make a ring die change.
The following list shows some of the common reasons for replacing a ring die:
• The ring die is worn so deeply that the rollers can no longer be adjusted out far enough to contact the ring die.
• The pellet quality produced by the ring die does not meet customer expectations.
• The ring die creates too many fines that take too much time and energy to recycle and reprocess.
• The ring die is damaged due to breakage, excessive tramp metal, pitting, scoring and/or uneven wear.
• The ring die is worn below the wear groove cut in the ring die face, which exerts a higher load on the roller shells and accelerates roller wear. Monitoring this condition is especially important when running hardface rollers intended for use with more than one ring die.
Ring die removal
Removal of the pellet ring die may be necessary to perform pellet mill maintenance; produce a different pellet size or type of product; and install a new ring die. Some pellet mills are designed for ring die changes by manually unbolting the old ring die and bolting the new ring die in its place. Other pellet mills are designed for a more rapid ring die changeover that is accomplished by removing the entire ring die and ring die housing cartridge assembly and replacing it with a different ring die and cartridge assembly. With either system, at some point the ring die must be physically attached to the ring die housing.
Manually removing and installing ring dies is a potentially dangerous process. ring dies can easily weigh hundreds of kilograms, and may be awkward to handle. Each operation should carefully develop appropriate procedures for manual ring die removal and adequately train personnel involved in this operation.
The following are some guidelines to consider when developing procedures for manually removing and changing ring dies:
• Follow established lock-out, tag-out procedures to de-energize all energy sources to the pellet mill before removing the ring die or making any adjustments or repairs.
• Use all appropriate personal protective equipment during the ring die removal operations. Examples of some of the protective equipment that may be necessary are leather gloves and eye protection.
• Carefully inspect all equipment involved in lifting and transporting ring dies before each use. Develop a safety checklist for use by personnel.
• Flush the ring die with an oily mixture if it will be returned to use.
• Back-off all cutting knives from the ring die.
• Open the pellet mill door and remove the feed cone.
• Loosen and adjust the roller-adjusting bolts to completely back the rollers away from the ring die.
• Adequately support the ring die with a ring die stand or hoist system designed for ring die removal.
• Remove the ring die clamps or ring die bolts from the ring die and remove from the ring die housing.
• Store the ring die in a dry protected area if it will be returned to use.
Pellet ring dies are the heart of the pelleting process — typically the most expensive operation in terms of capital investment and energy cost within the feed mill. ring die maintenance deserves and requires close attention due to its impact on the overall mill operation. Properly maintaining the ring die is essential to achieve maximum production rates and to prolong ring die life.
Take the time to establish a thorough ring die maintenance program and adequate procedures for ring die change operations.
